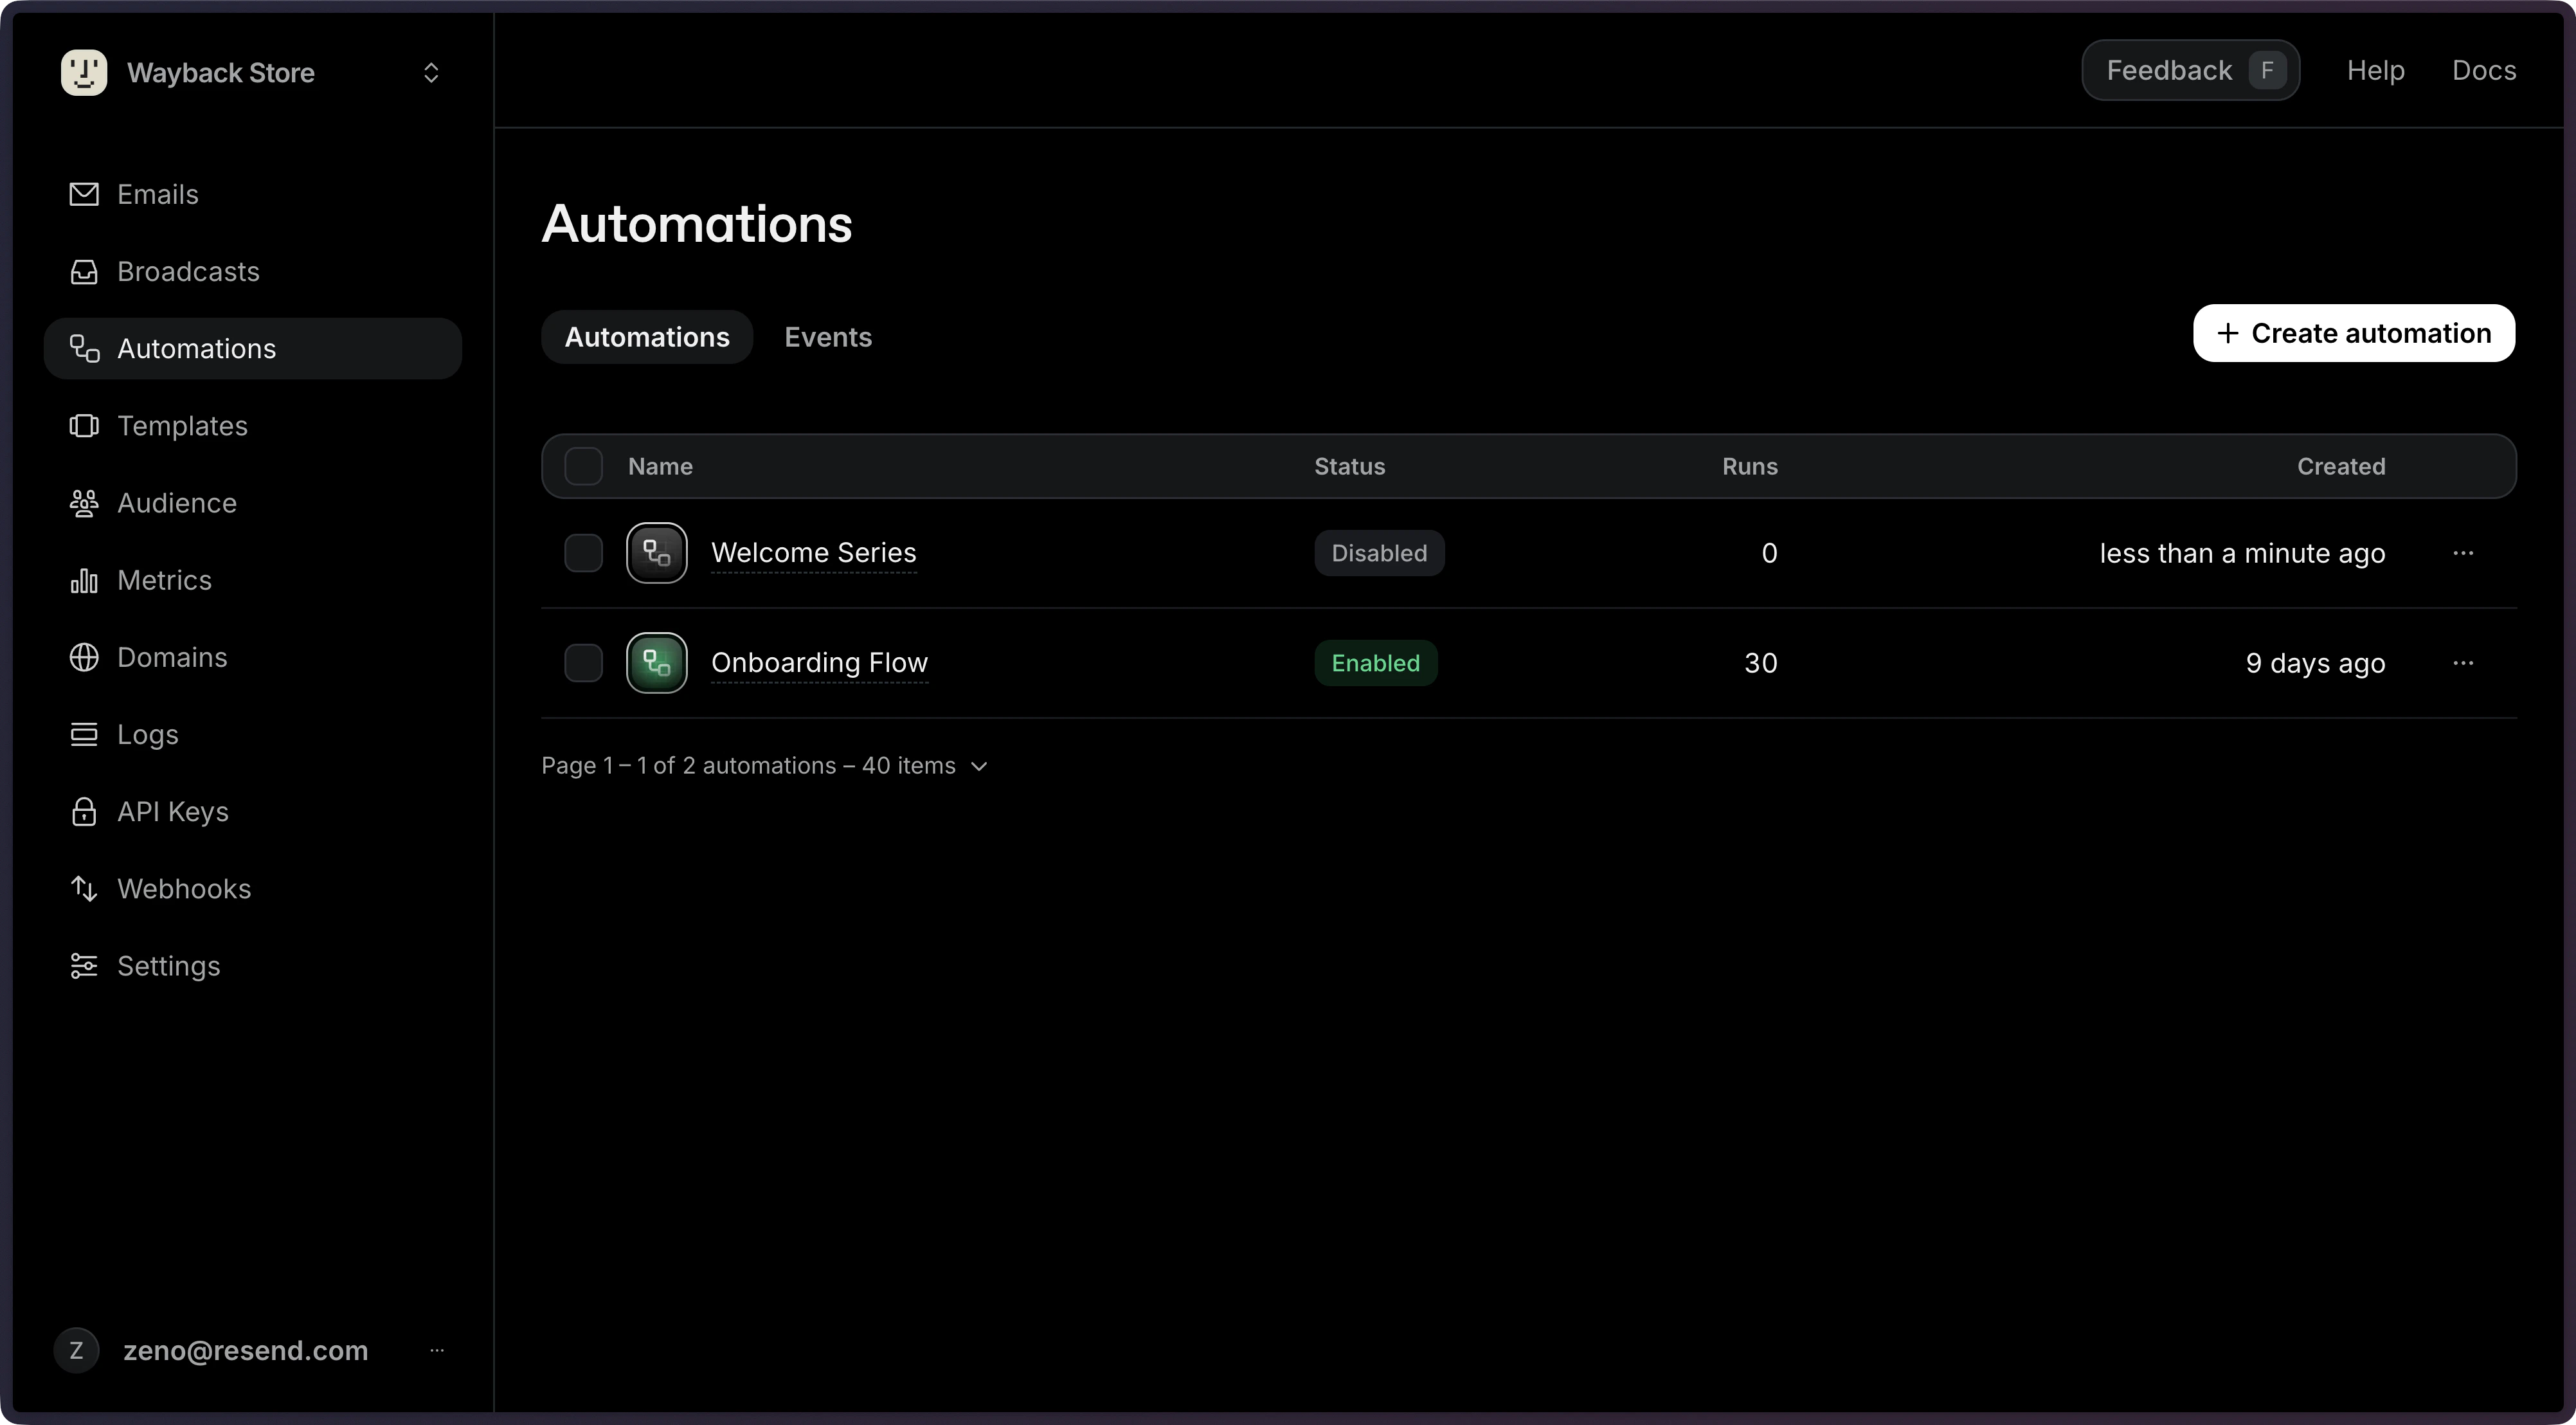
Use this file to discover all available pages before exploring further.
Automations allow you to create email steps based on custom events from your application.You can use Automations for use cases like:
Welcome emails
Drip campaigns
Payment recovery
Abandoned cart
Trial expiration
Automations support {{{RESEND_UNSUBSCRIBE_URL}}} for compliance with non-transactional product and marketing messaging. Read more about when to use an unsubscribe link.
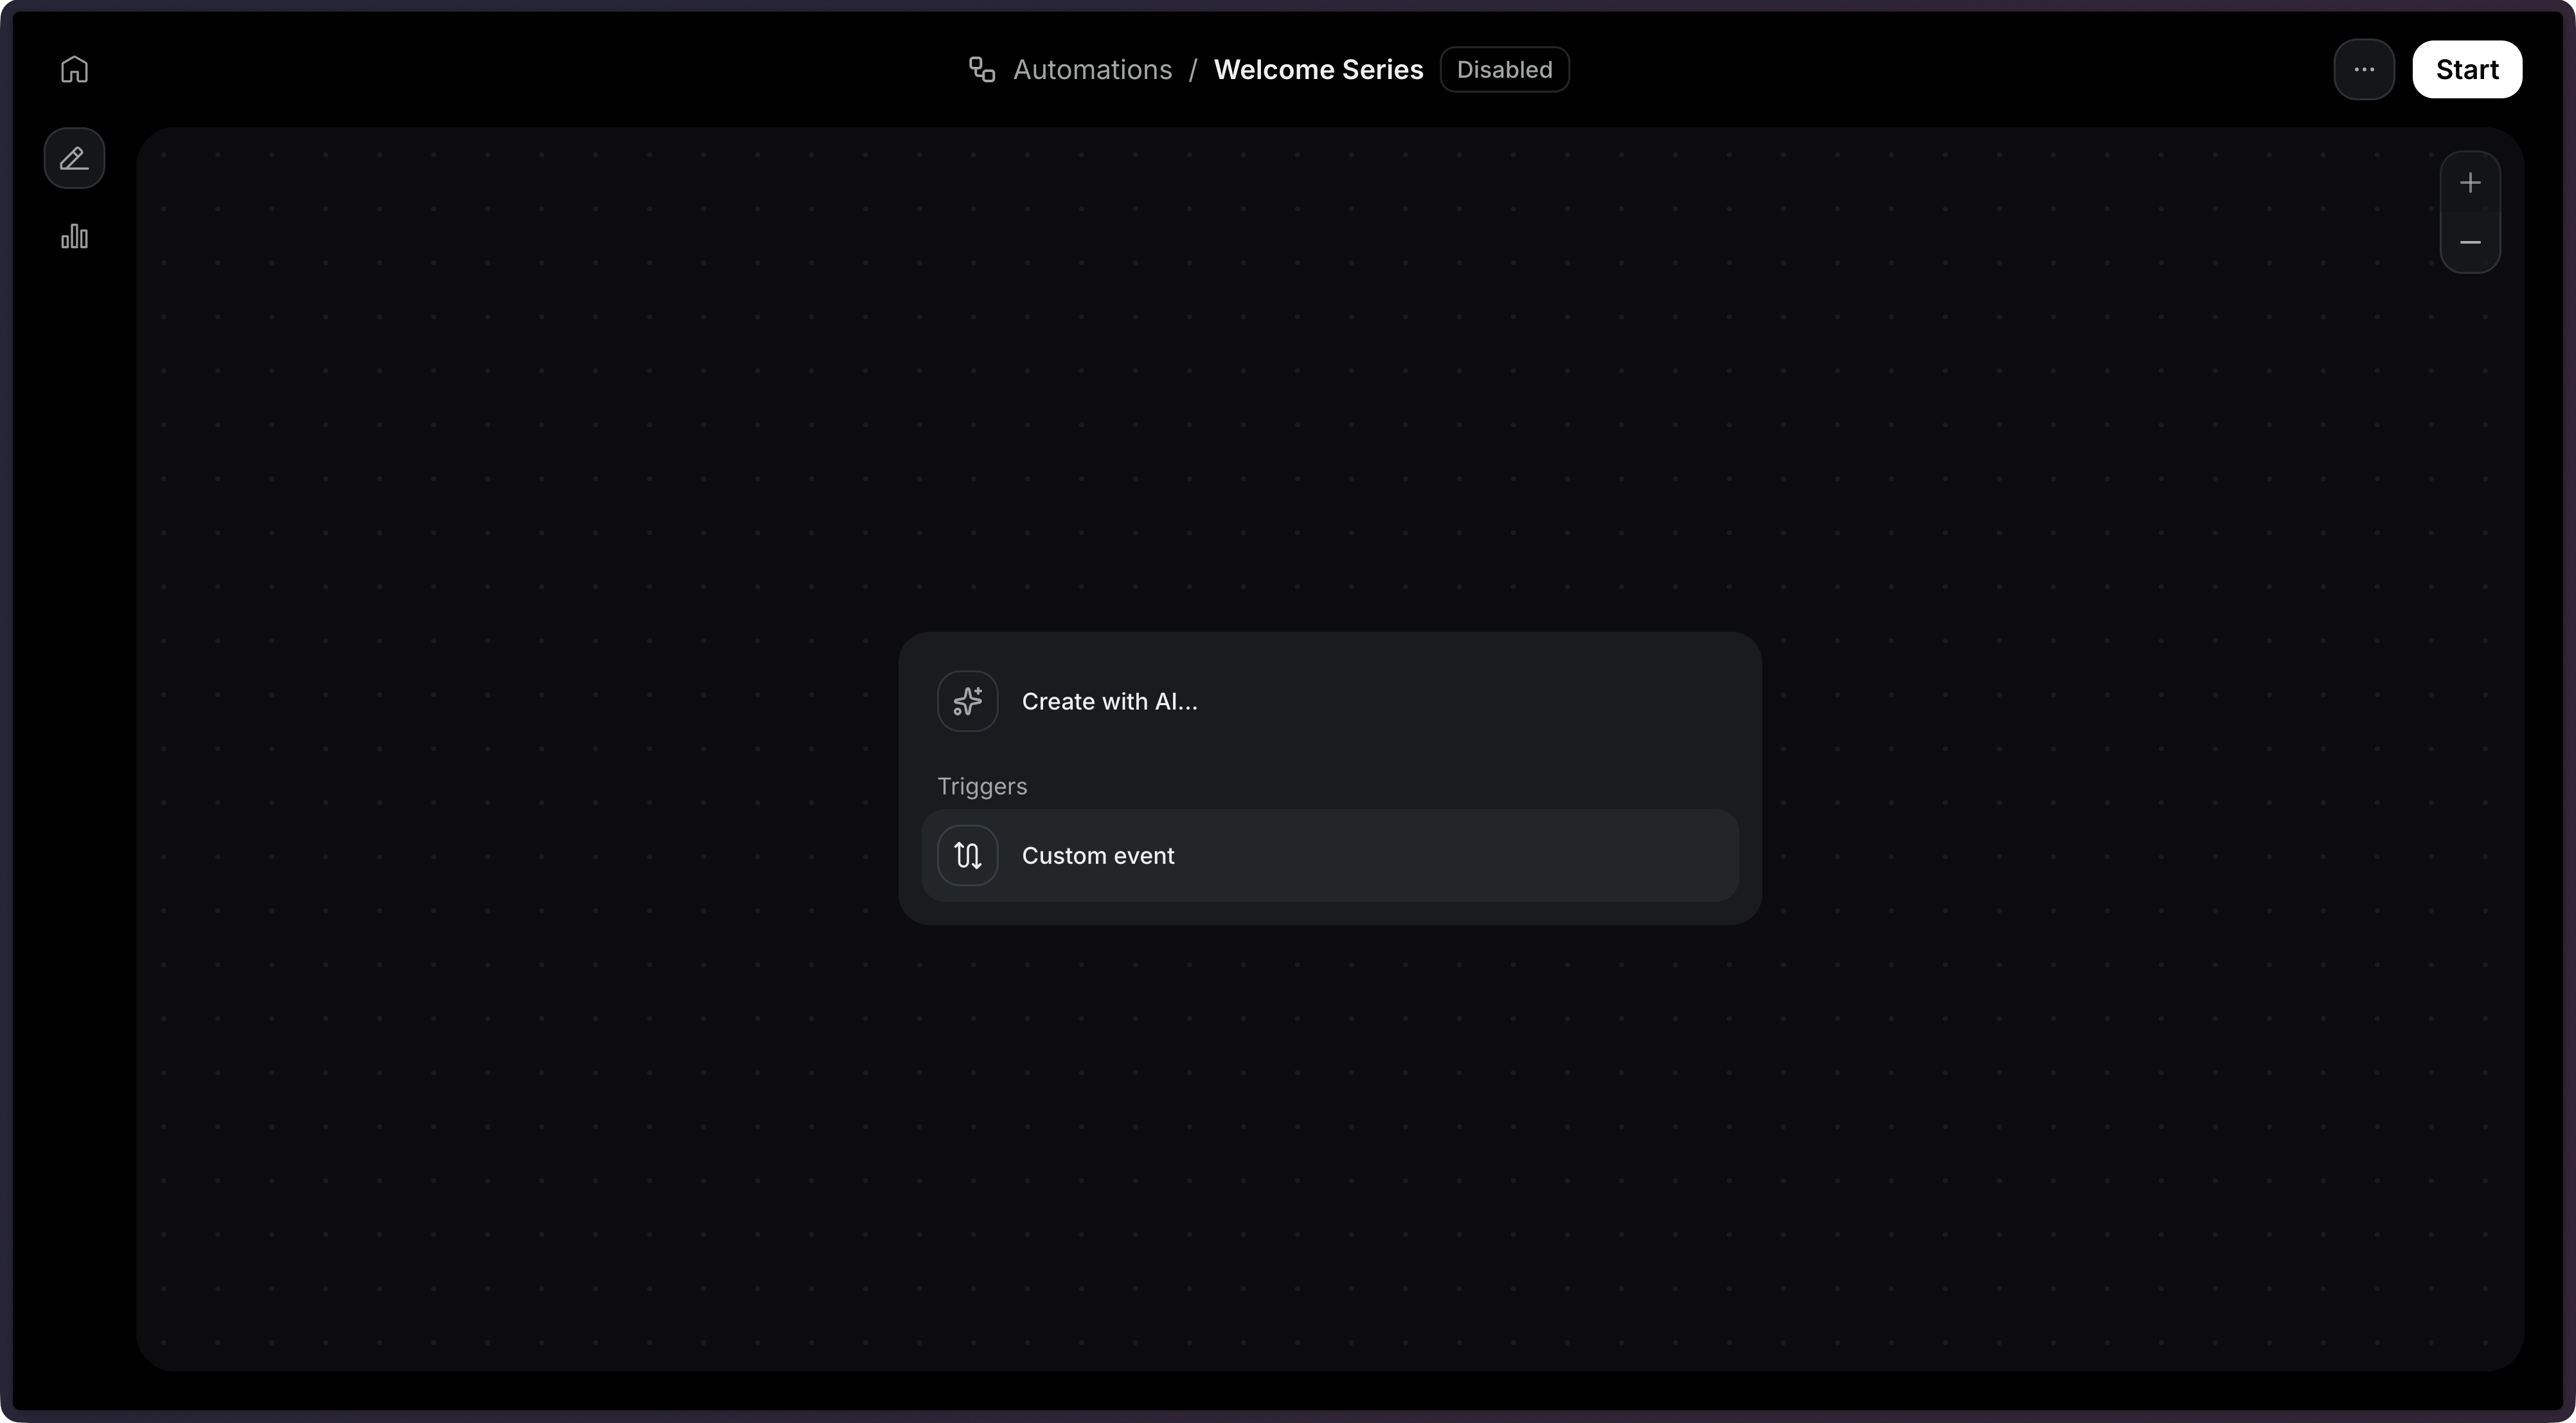
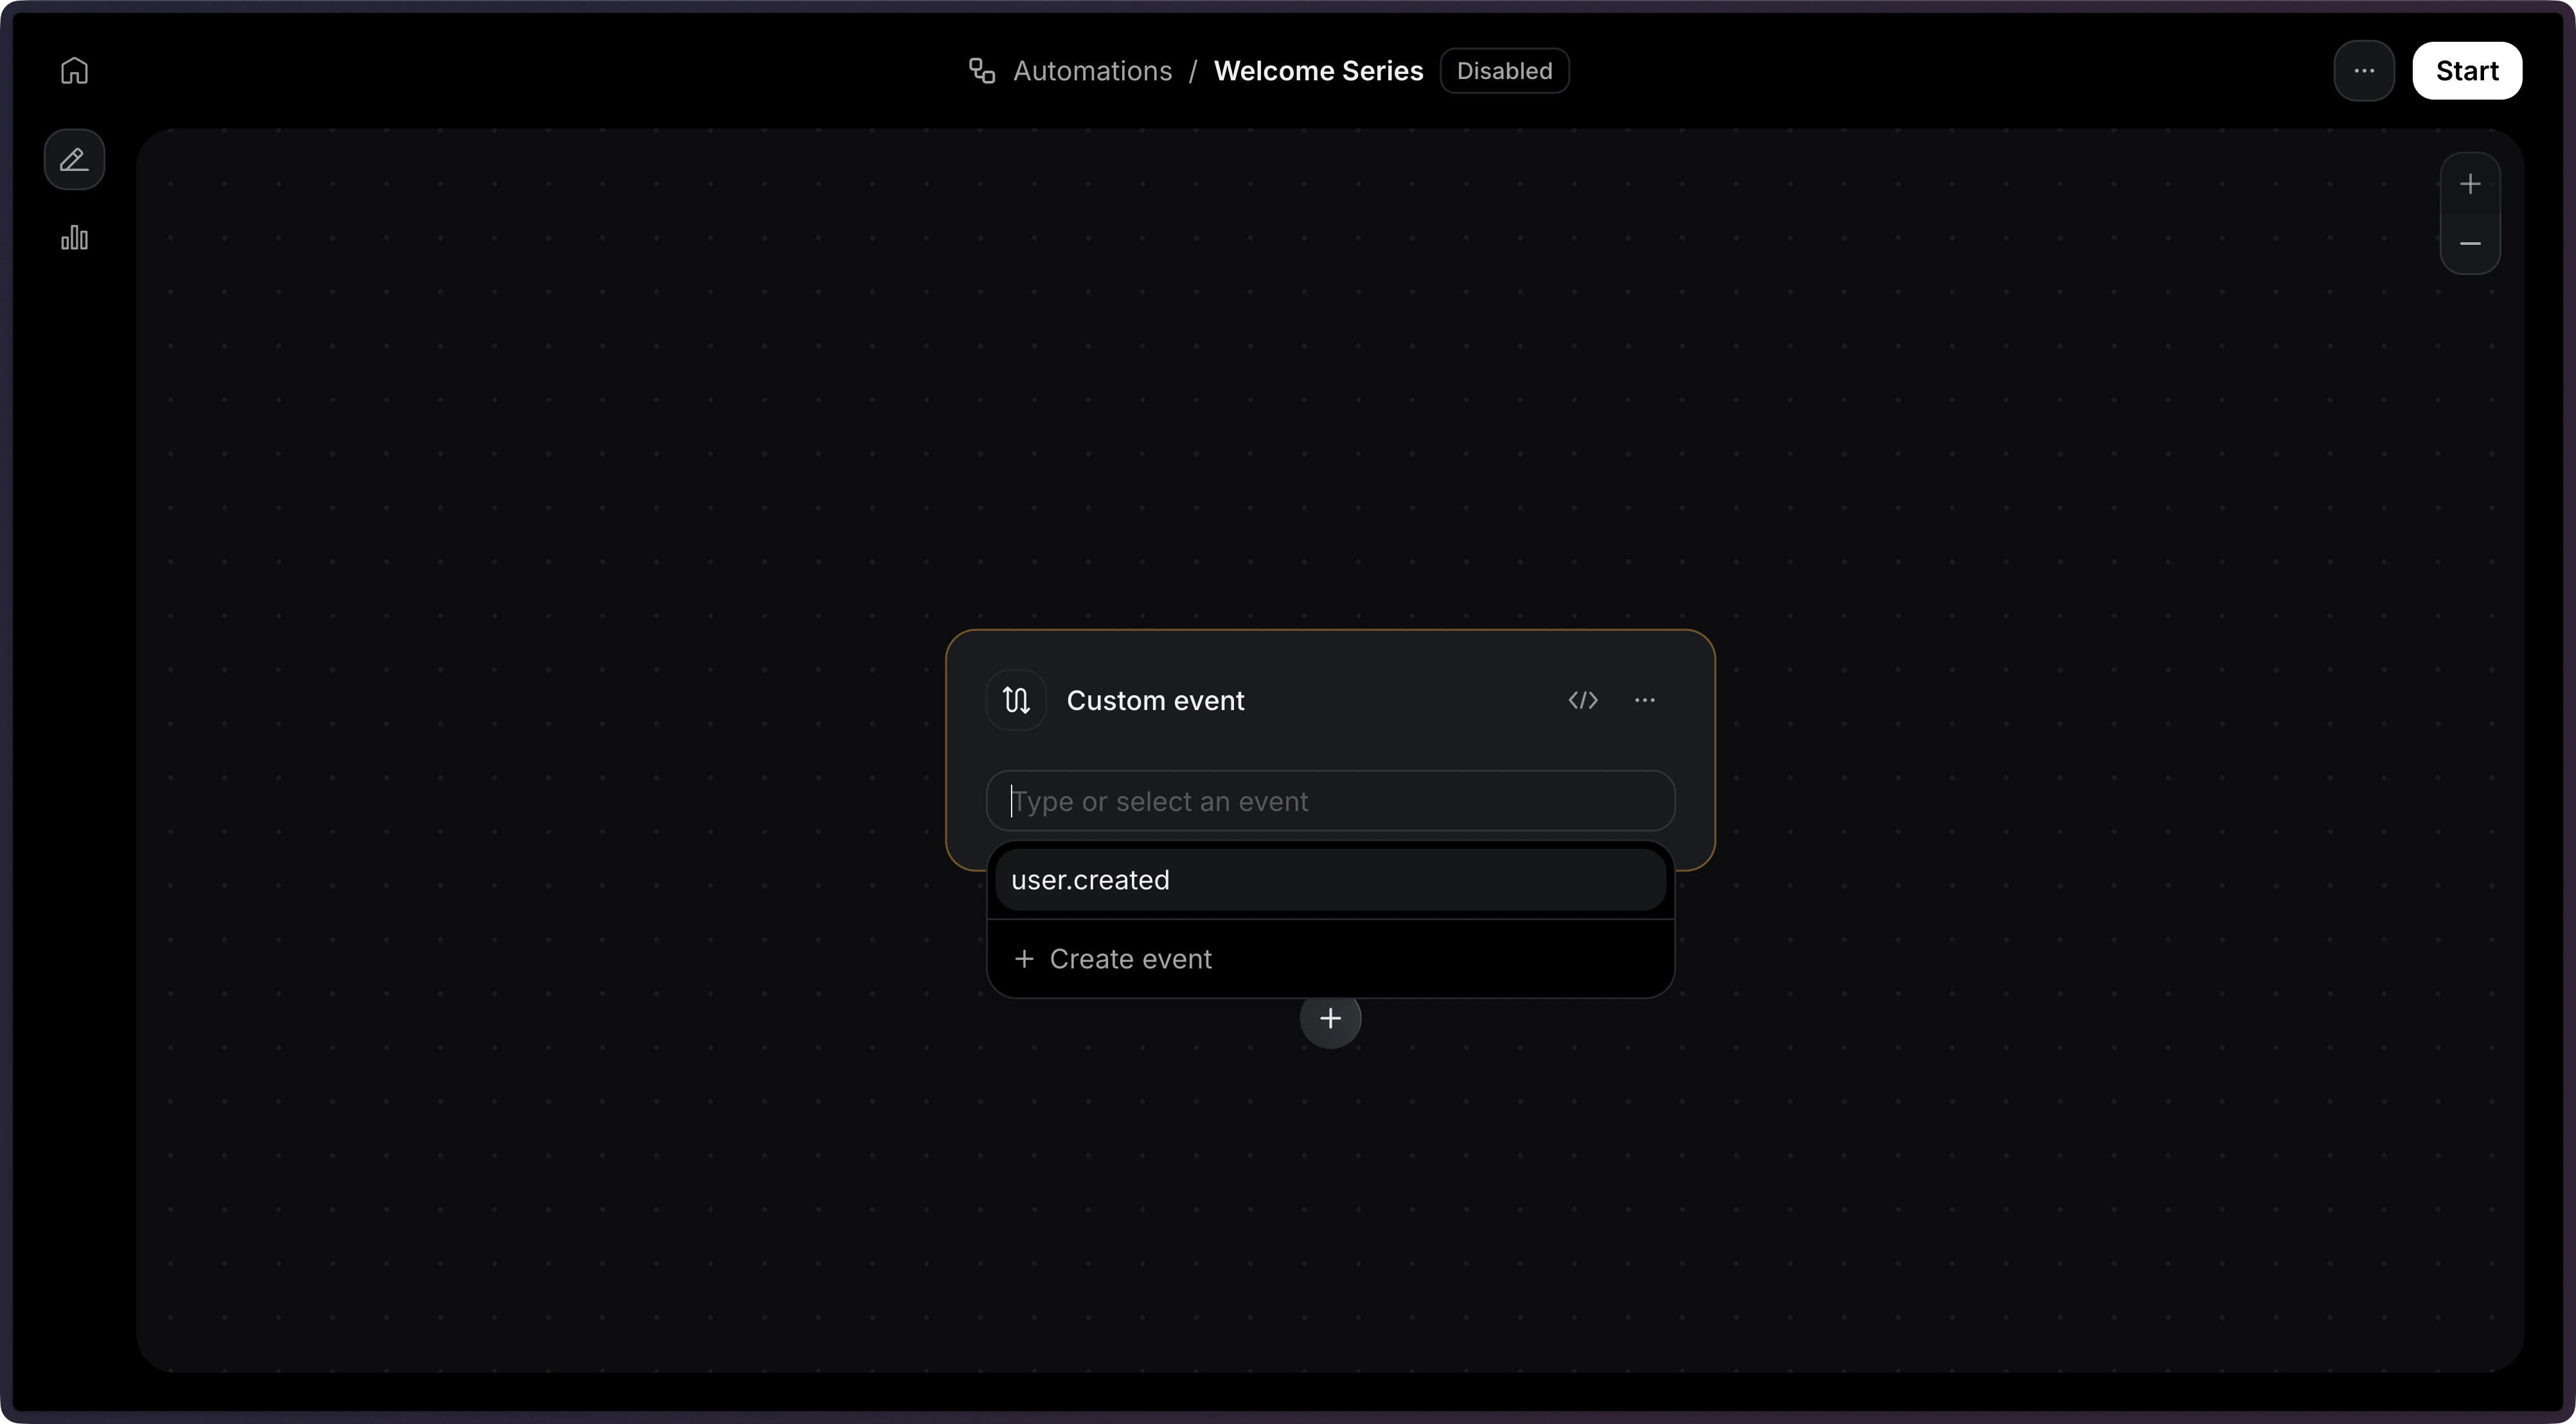
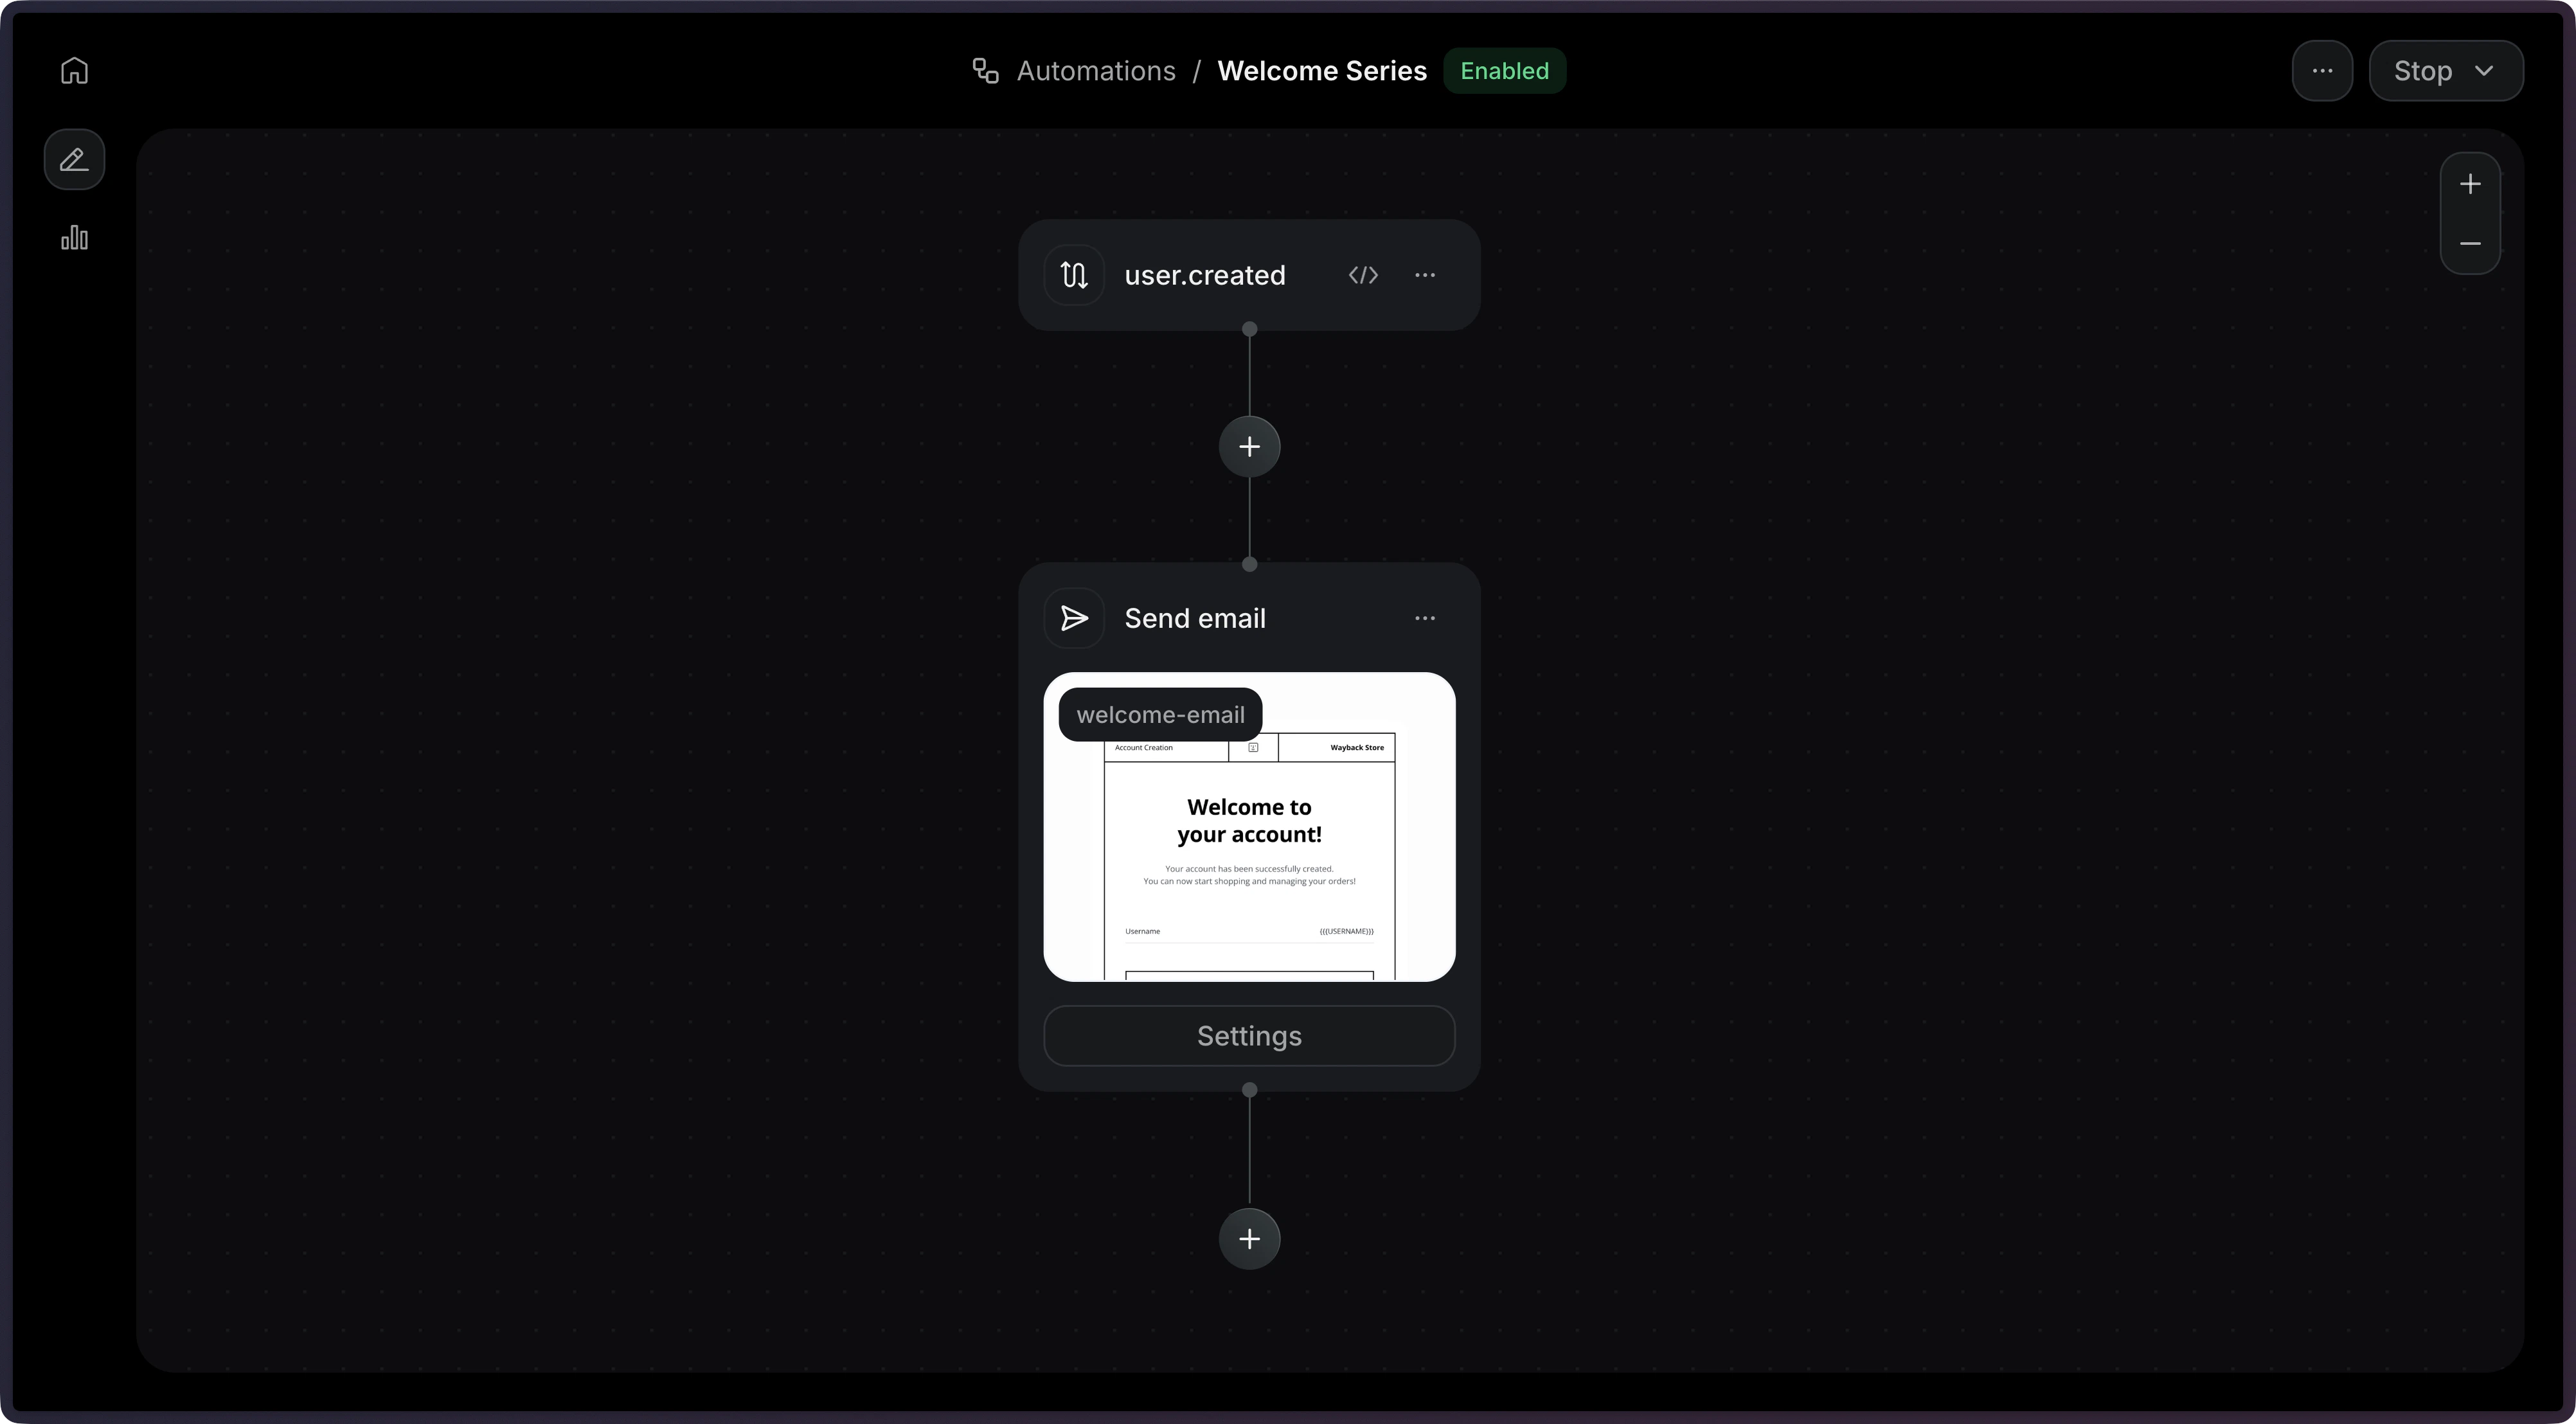
A trigger is the first step that will run when the Automation is executed. You can use a custom event like user.created or onboarding.completed, defining it inline or in the Events page.In this example, we will receive an event called user.created as a trigger.See the Trigger documentation for more details.
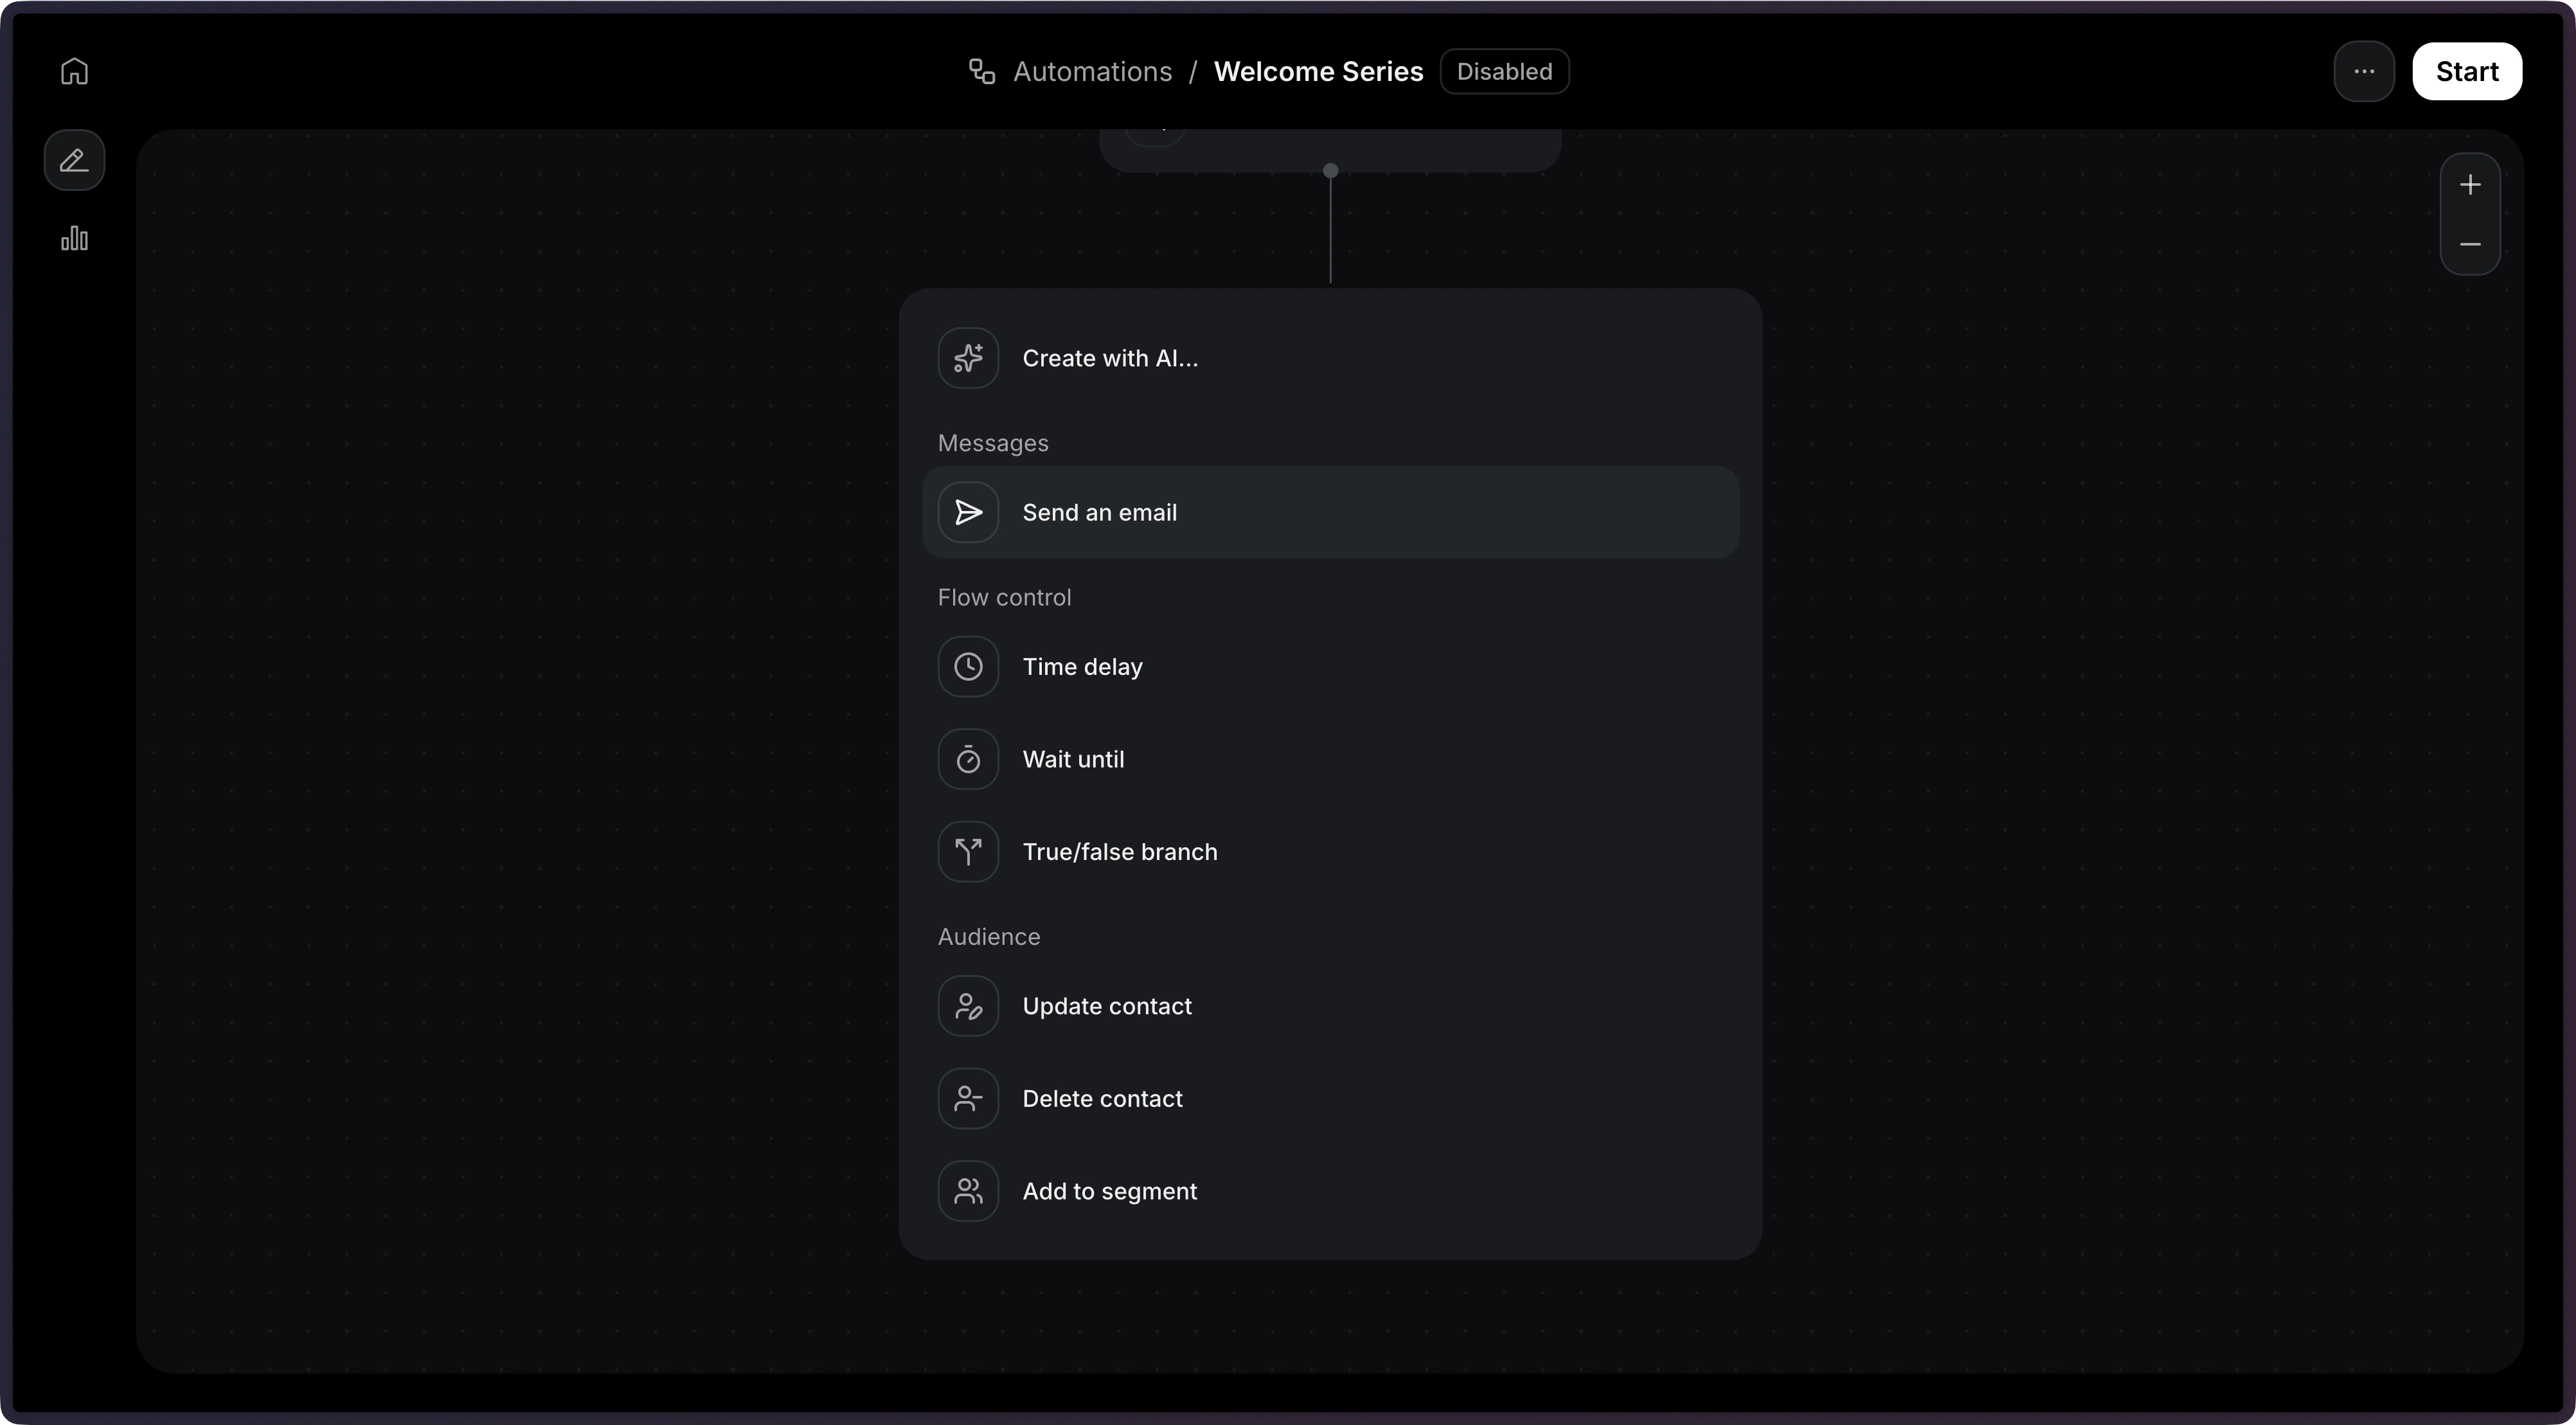
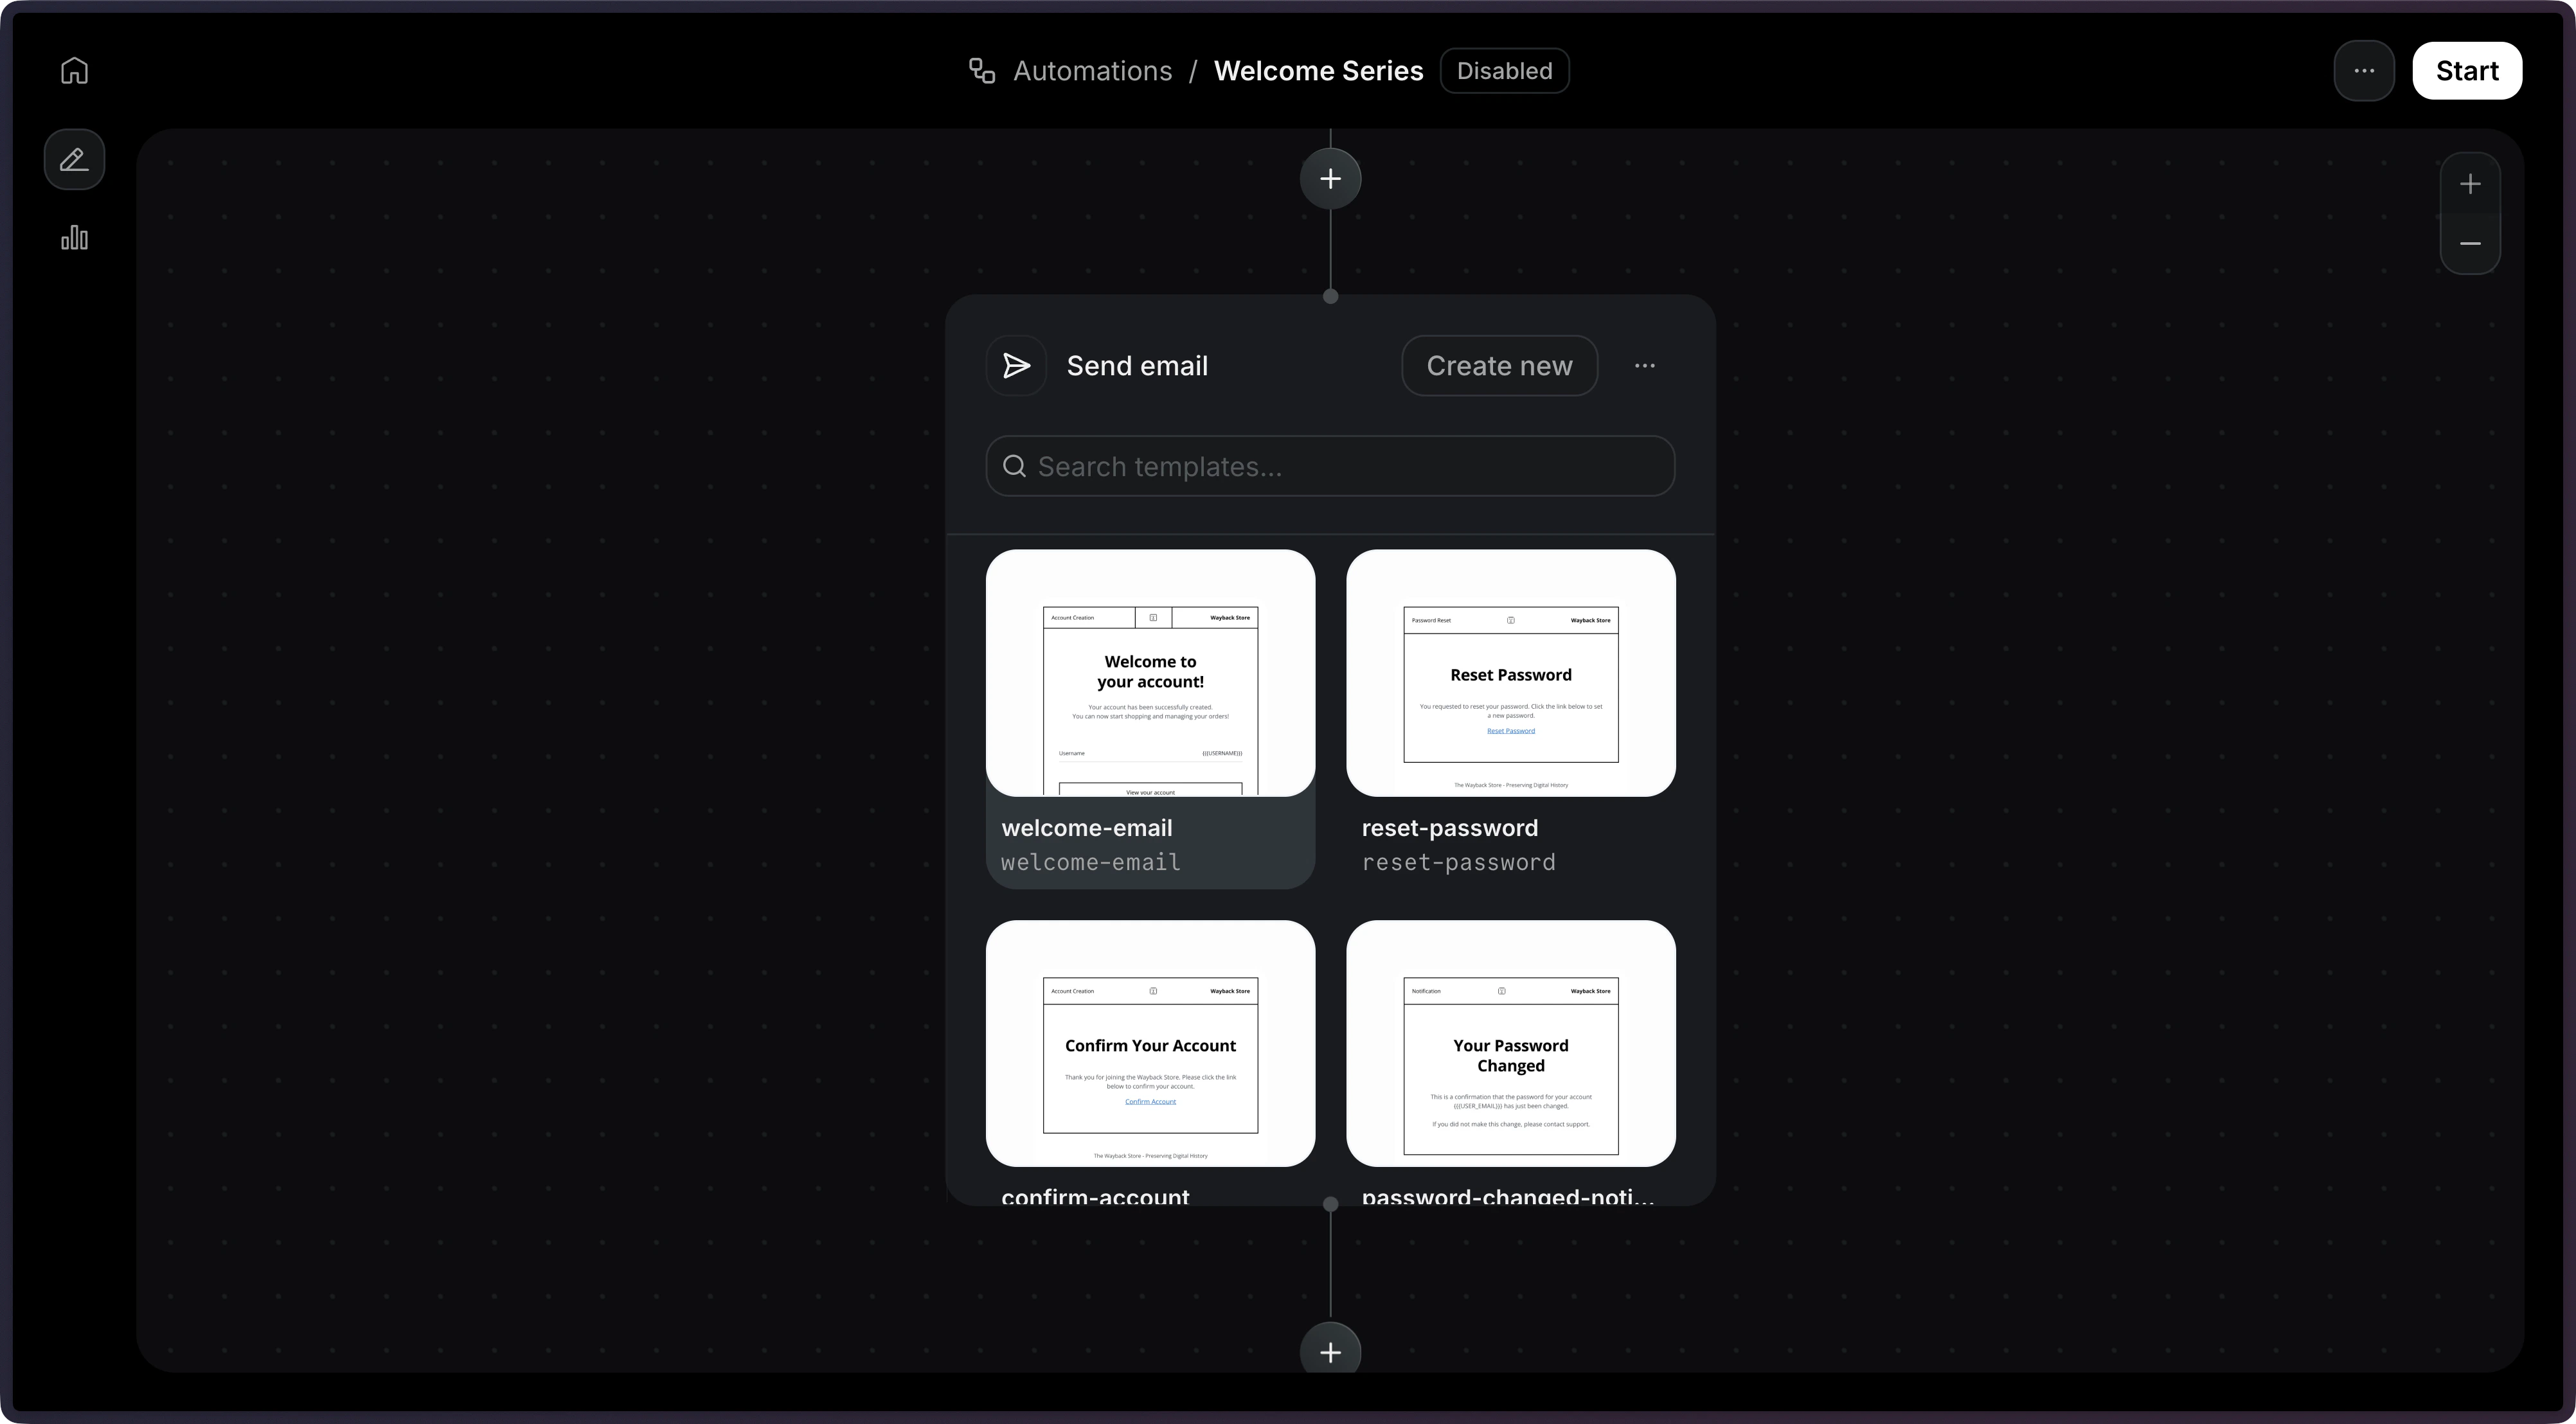
On this example, we will use the Send Email step.Once you select that step, you will be able to select an existing template.
Note: Only published templates are available to be used in an Automation.
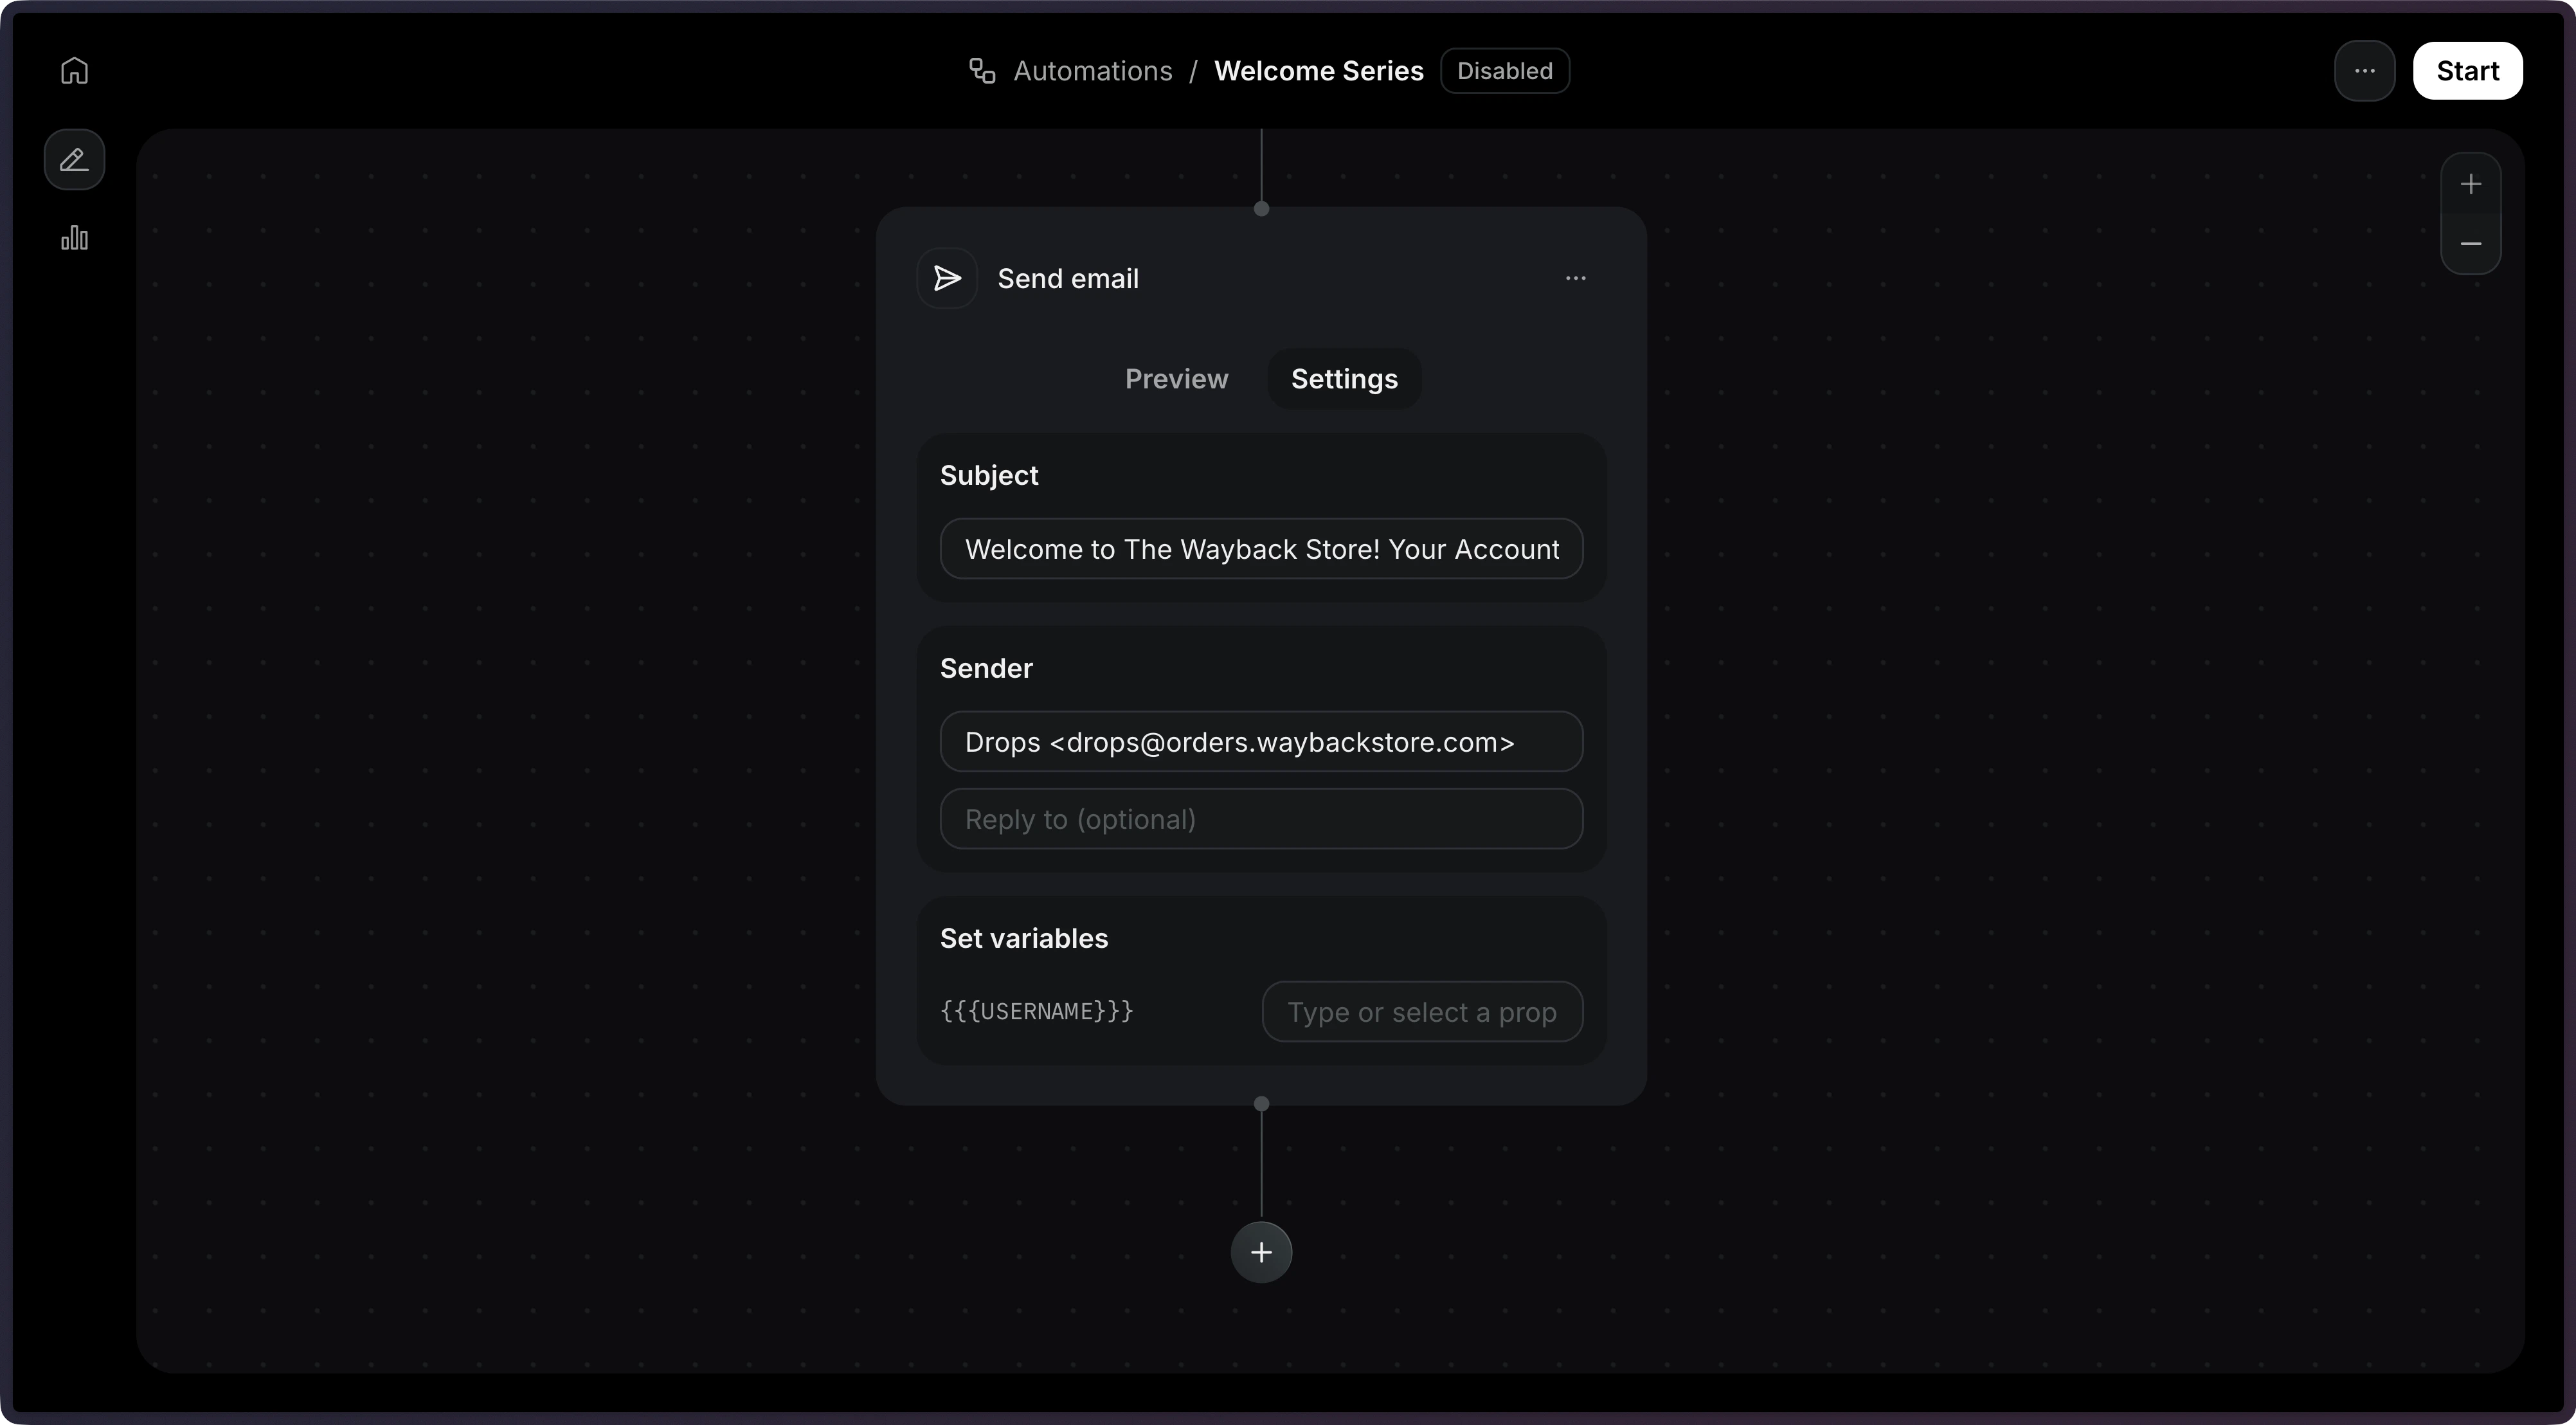
With the template selected, you will be able to configure the email subject and sender address.Once you’re done with the email, you can click on Start to enable the Automation.
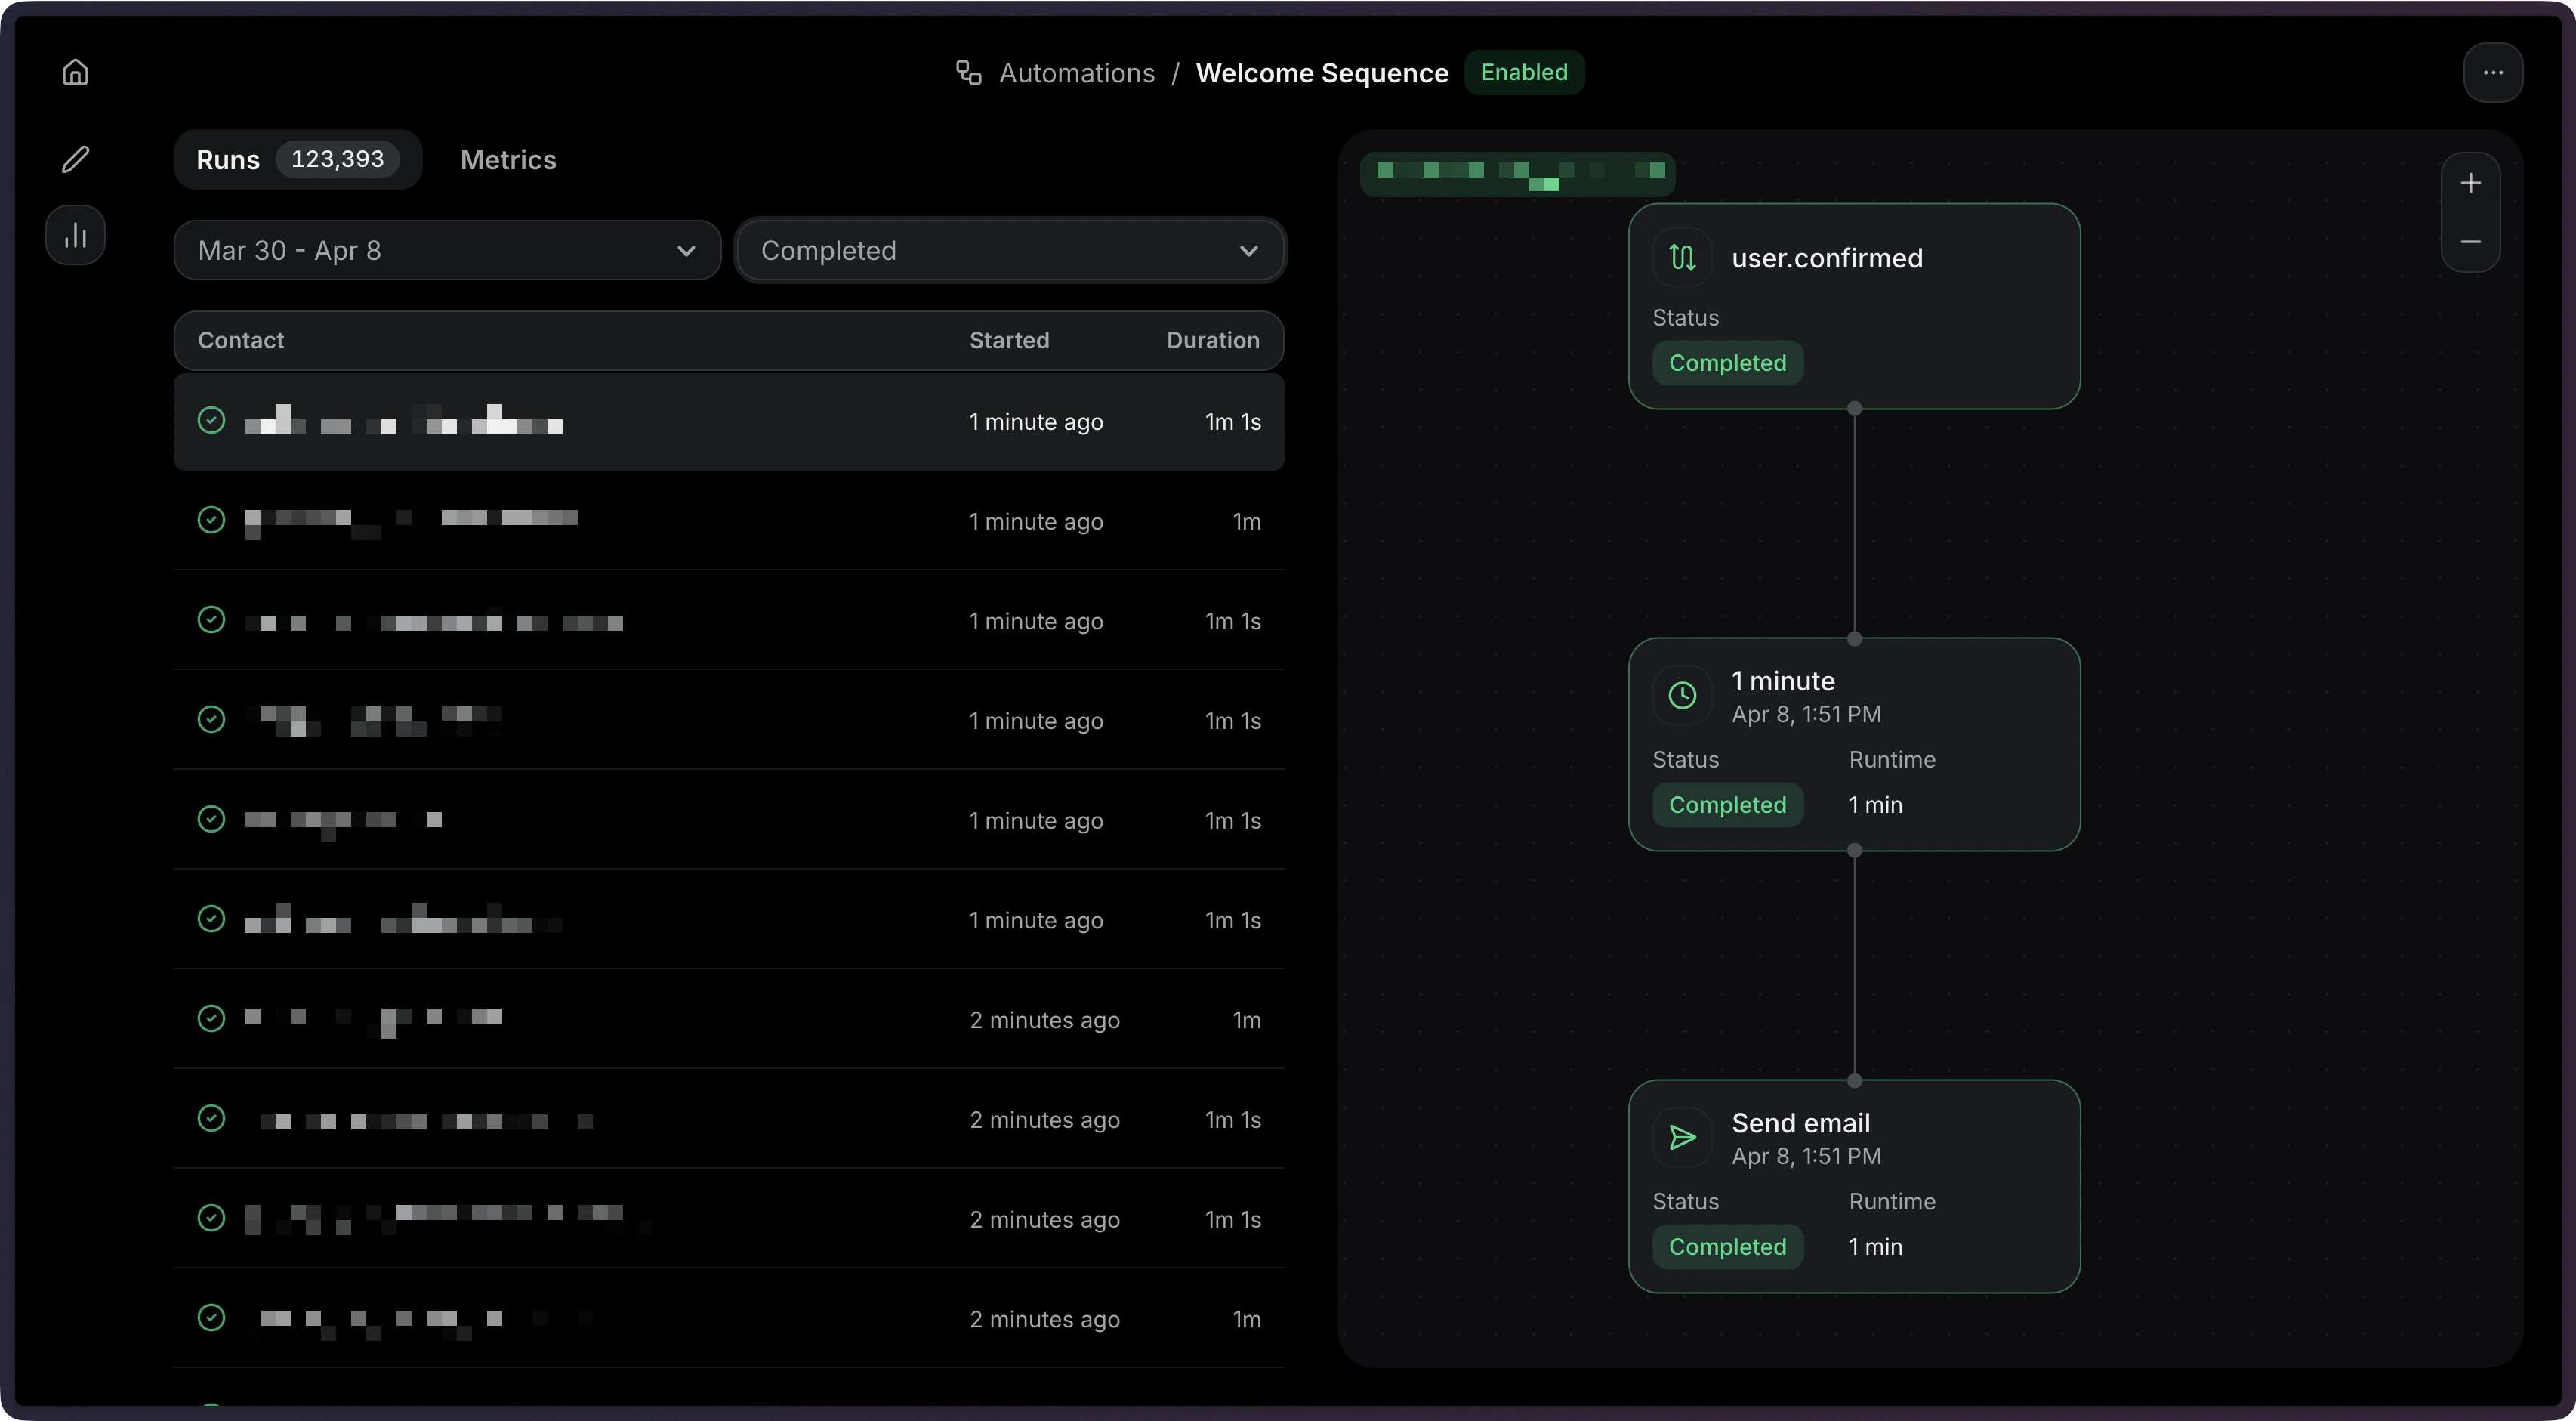
After sending events, you can monitor your Automation executions through Runs. Each time an event triggers an Automation, a Run is created to track the execution.Learn how to:
View Run statuses and execution details
Filter Runs by status (running, completed, failed, cancelled)
Debug failed Runs with step-level error information
When creating an Automation via the API, you can create an entire Automation flow with a single request. It accepts four parameters (status is optional and defaults to disabled):
name: The name of the Automation.
status: The status of the Automation.
steps: The steps that compose the Automation graph.
The trigger is defined as the first item in the steps array with type: 'trigger'. It requires you’ve created a custom event like user.created or onboarding.completed.For more help creating an Automation via the API, see the Create Automation API reference.